Now, since I work from home, this workbench was also supposed to serve as my everyday work station. After a few weeks of seeing me sore from working either in bed or in folding chairs, my girlfriend got fed up and got me a table from IKEA. The table is turned out to be a great work space for me, but I have still been daydreaming about a woodworking bench.
A side note: For those of you who have tried to get into woodworking, you know what an expensive and frustrating process it can be. An instructional book you pick up may feature lots of projects for beginners, but the workshops are invariably those of professional woodworkers. "Make this simple birdhouse! All you need is a table saw, a planer, a drill press, a band saw, and your own lumber mill." Of the few projects I have attempted, I have yet to complete them without realizing that I'm missing an important tool or jig. The expenses add up fast, and if you've got a tight budget, you need to improvise. Or just put it off for later.
So, I decided to do something about my lack of a workbench! I turned my table into one. After all, I want to use that new hand plane I just sharpened. I ordered a few bench dogs and once they arrived I set to work.
First, I masked off the places where the supports run underneath. Then with a pencil I marked down the places I wanted the holes to be.
Next, I drilled some pilot holes before switching the the larger bit.
Here are the larger holes.
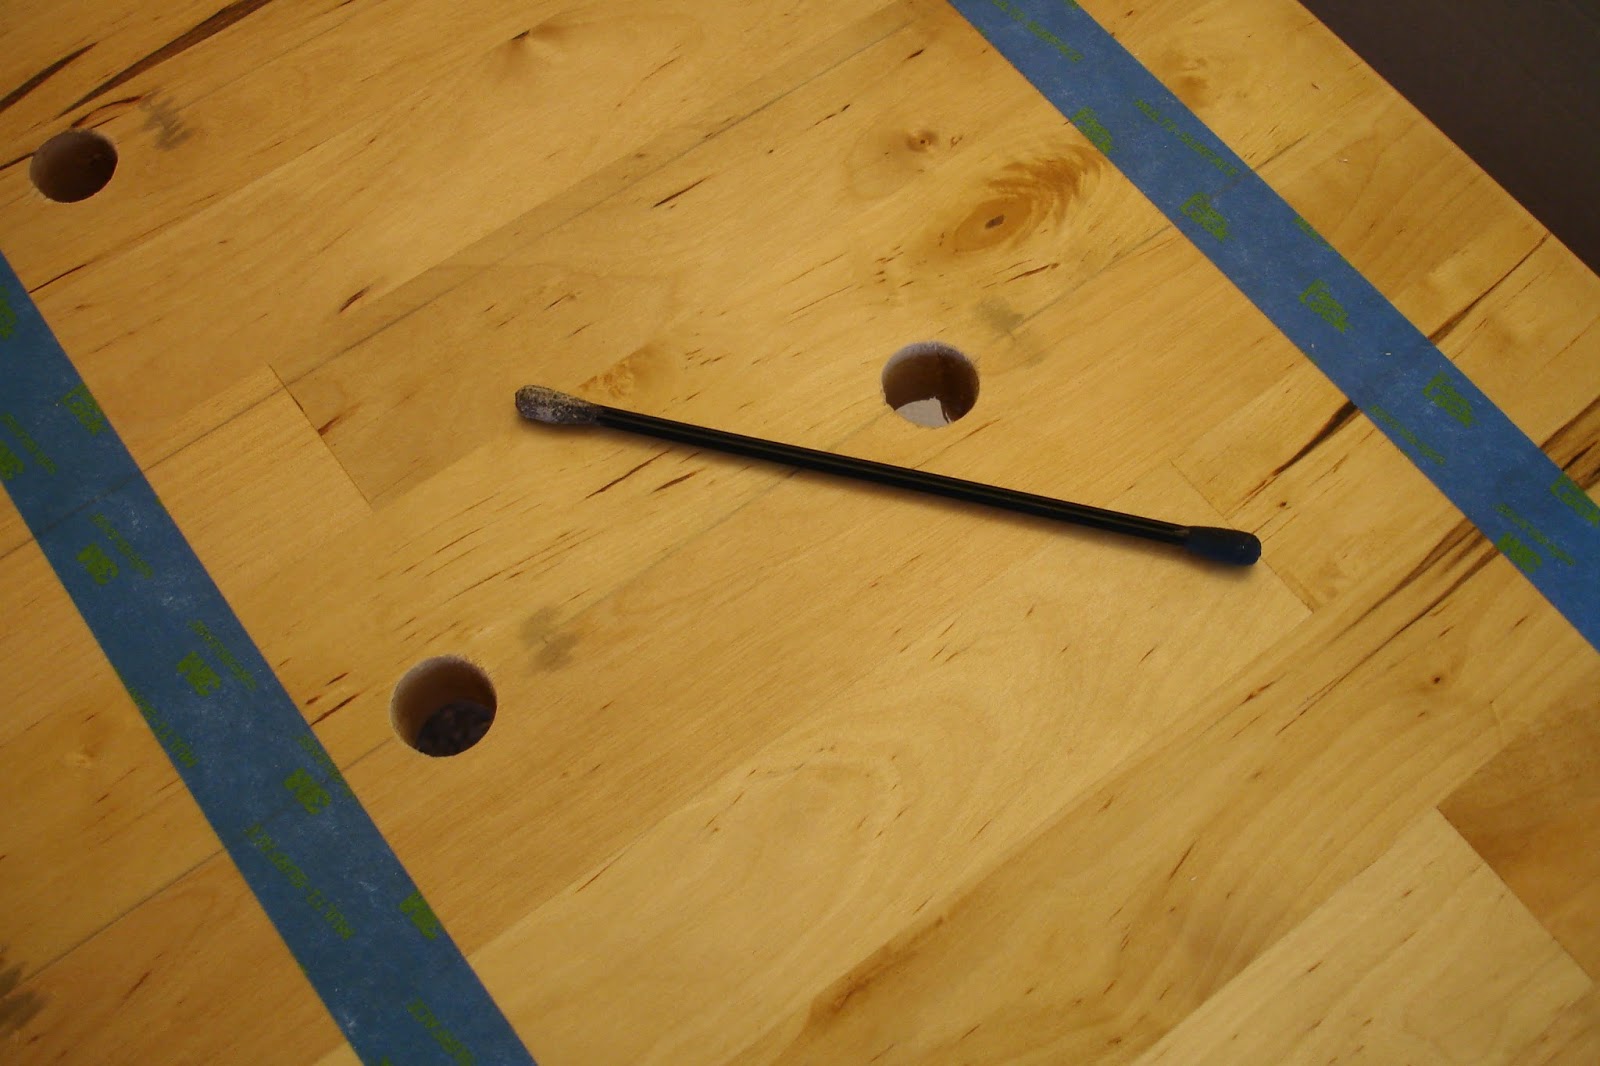
I cleaned up the edges of the holes with a cool little tool that my dad sent me. They're called Sandits, and they're like q-tips with abrasive ends.
Here's the table once it was cleaned up.
A close-up with the bench dogs inserted. They fit well.
I tried them out, taking a few passes on this piece of ash with my hand plane.
Obviously, one of the major problems with using this table as a workbench is weight. The table does move a bit when I'm working the wood, but it is an acceptable trade-off for me at this time. I have plans to add a tail vise at some point, and that will at a bit more weight. There's also the possibility of supporting the table legs with some hefty lumber. In the end, a $100 workbench that is does the job beats a fantastic bench that is 10 or 20 times as expensive; particularly when you're a beginner on a budget.
Andrew: He Gets Things Done


No comments:
Post a Comment